The import tool, accessible from both the browser extension and the desktop app, lets you bring in data from a previous data manager by importing it with a CSV or an Excel file. This can be done at the initial set up of Password Manager, or at a later time.
You can import data in either of the following two ways.
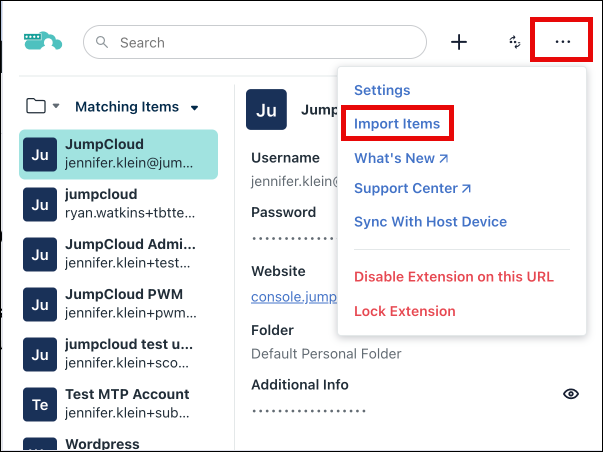
- Open the Browser Extension. Go to Three dot menu > Import Items.
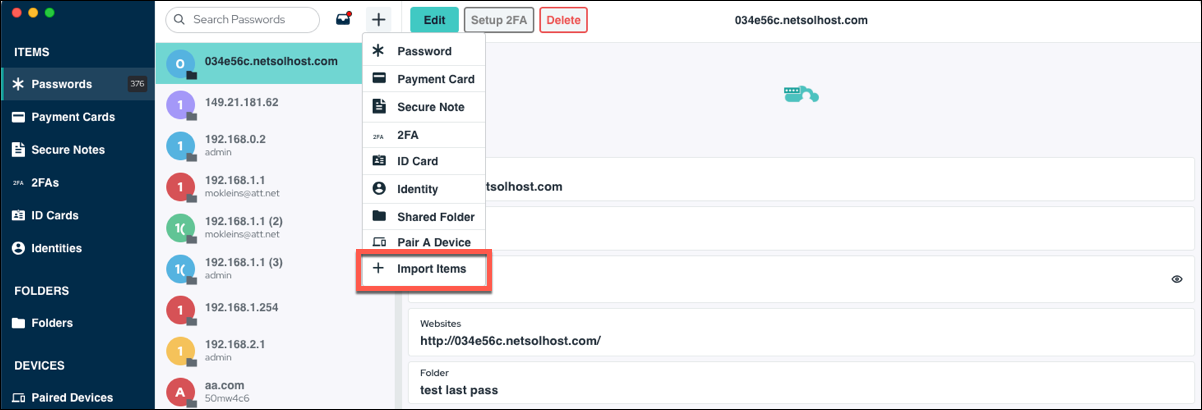
- Open the Desktop App. Click Import Items.
To import passwords, follow these steps.
- From the import tool screen, choose which type of data you want to import. For this example, we will import passwords, so select Passwords and click the Continue button.
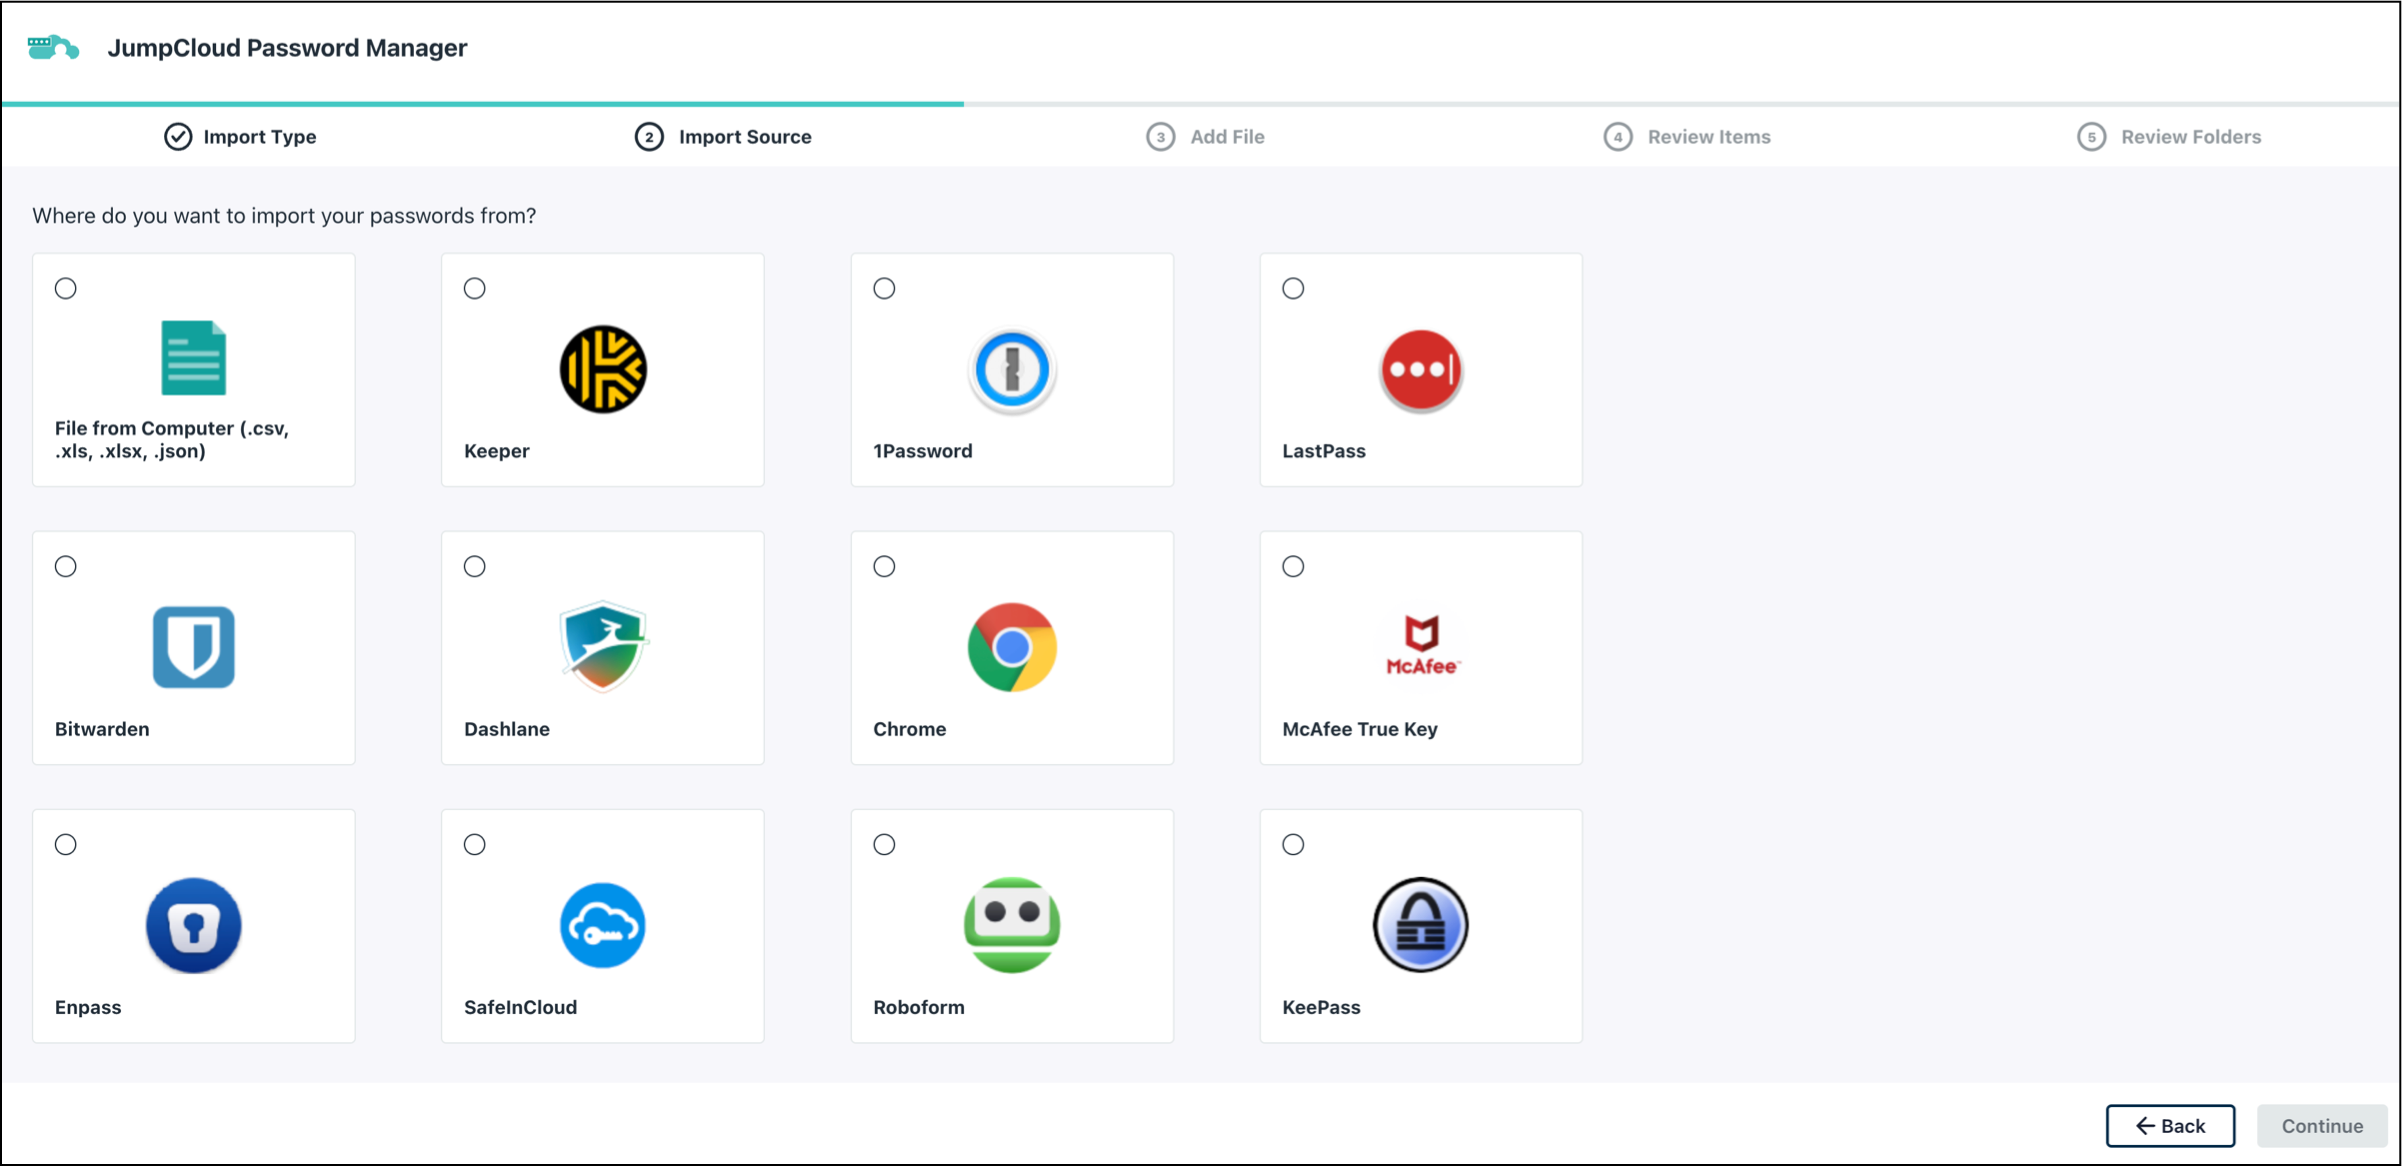
- From this screen, you can select to import from an already existing file on your computer, or you can choose from one of the existing password manager applications. Select whichever you want, and click the Continue button.
Tip:
Whichever option you choose, you should have already exported your data from that application and must know the location of the exported file on your computer.
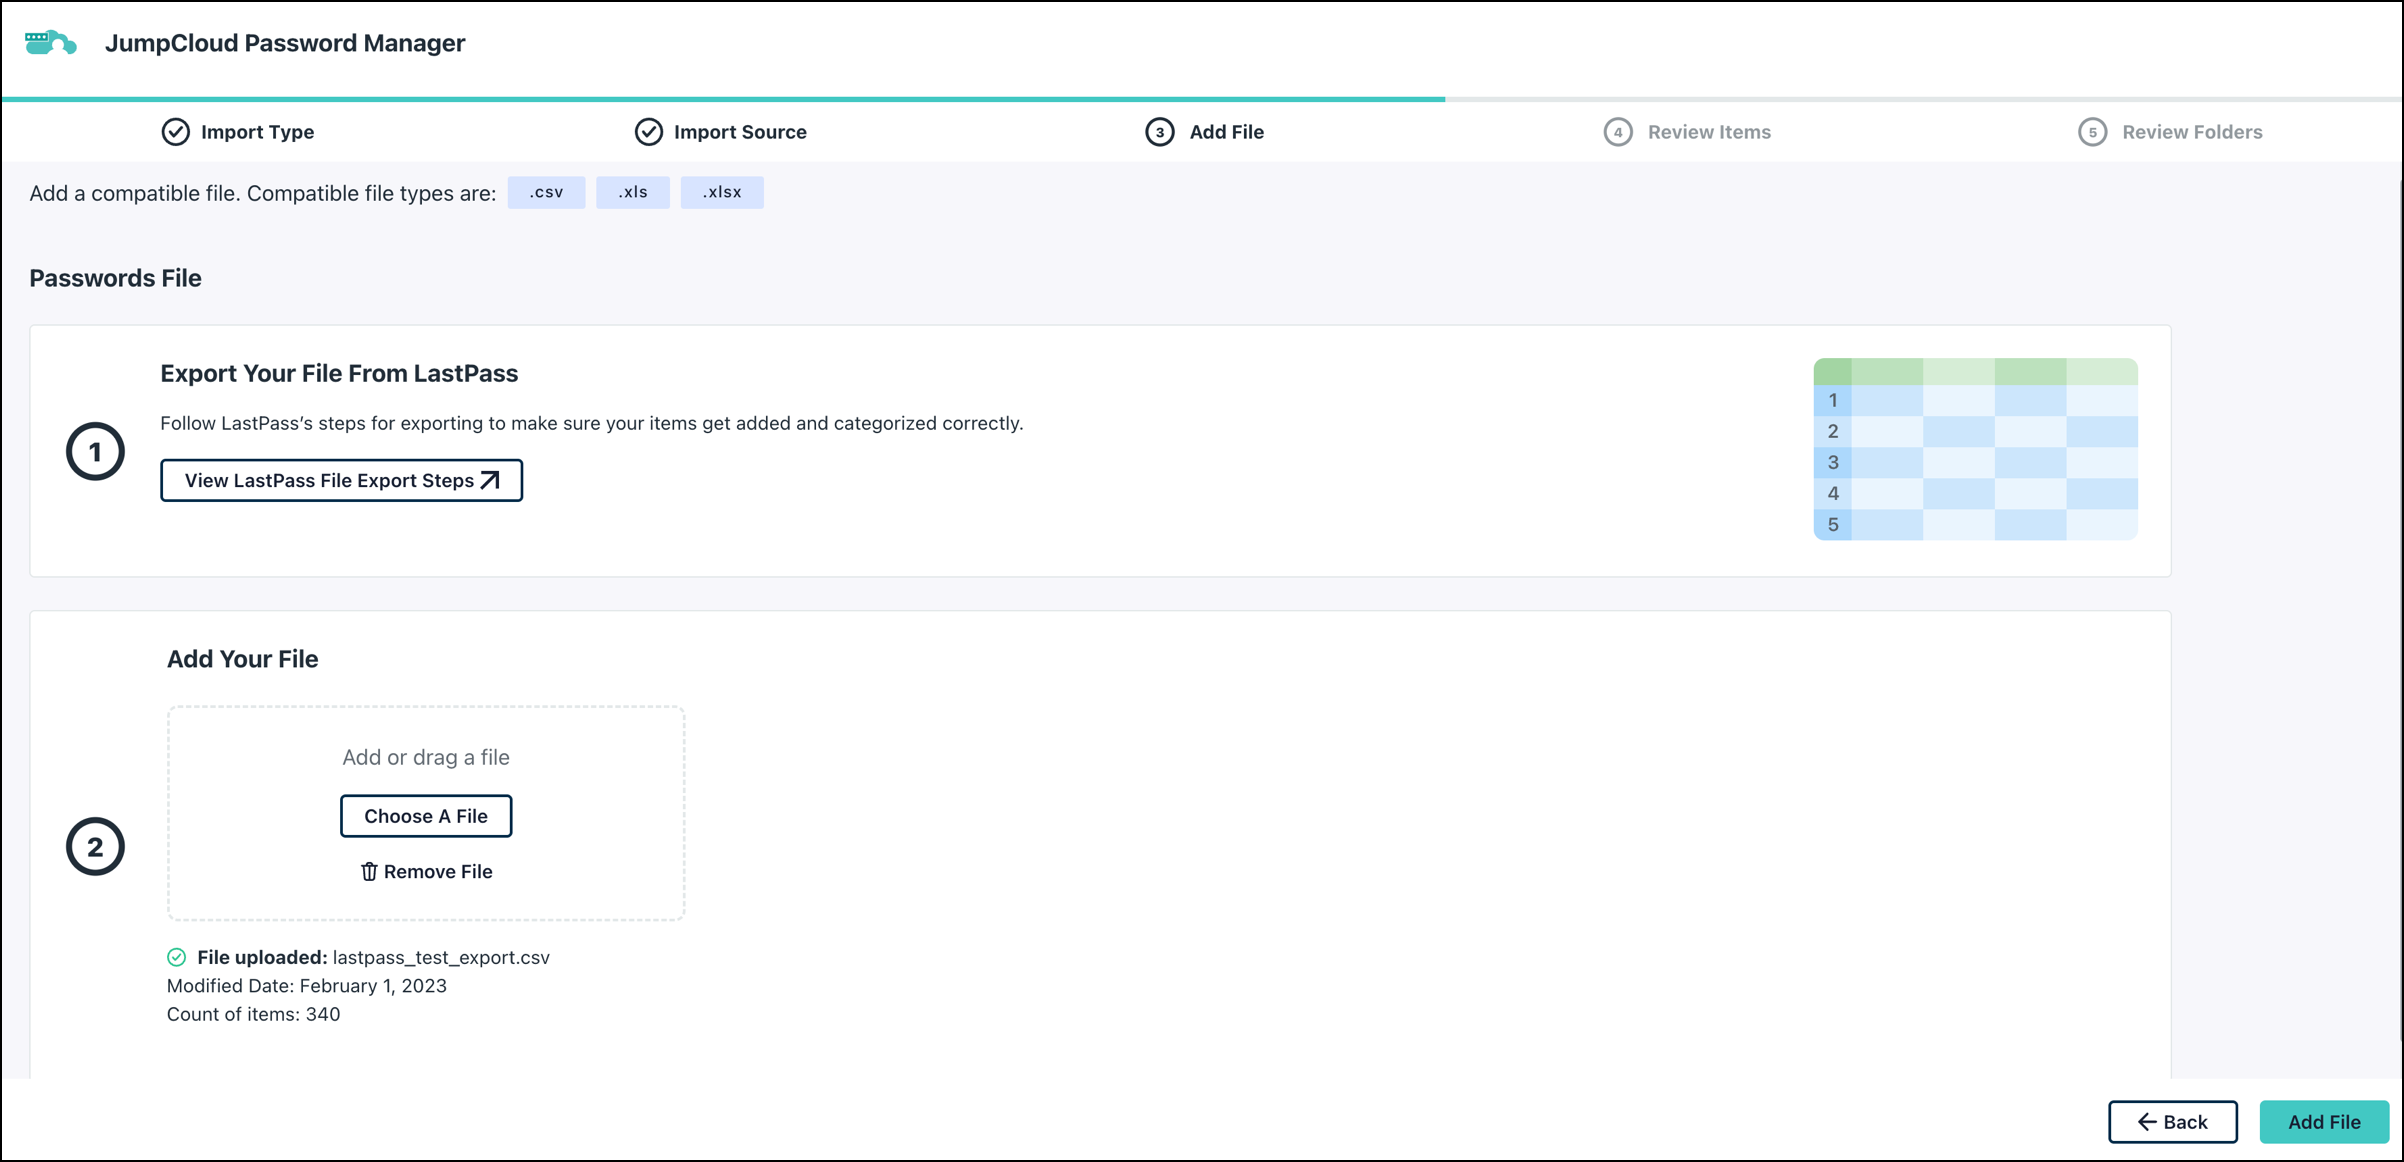
- Follow the on screen instructions to add or drag a file, then click the Add File button.
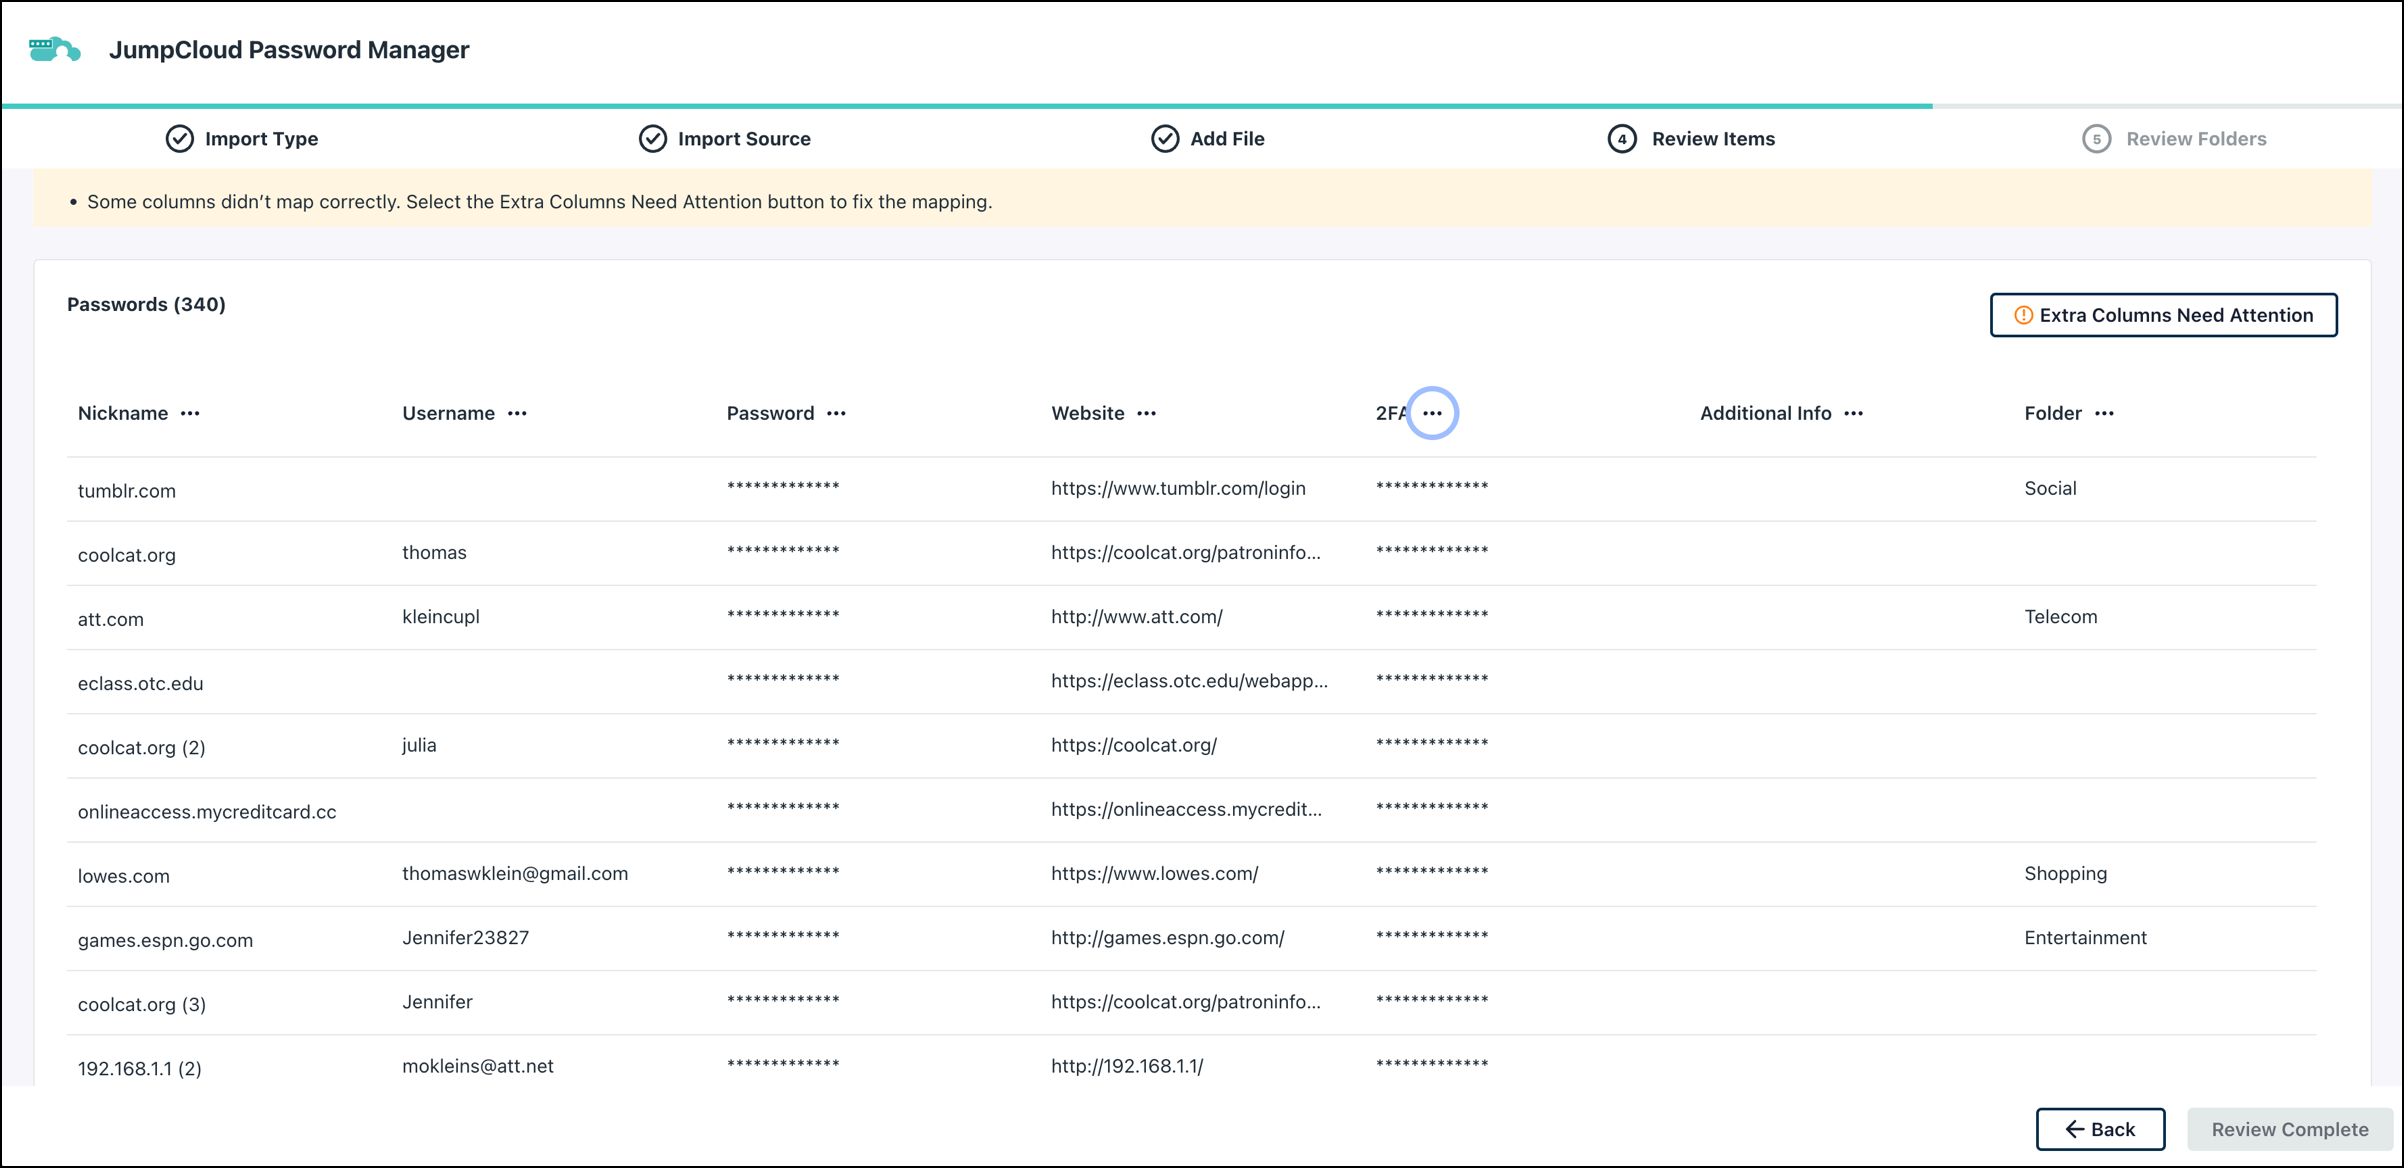
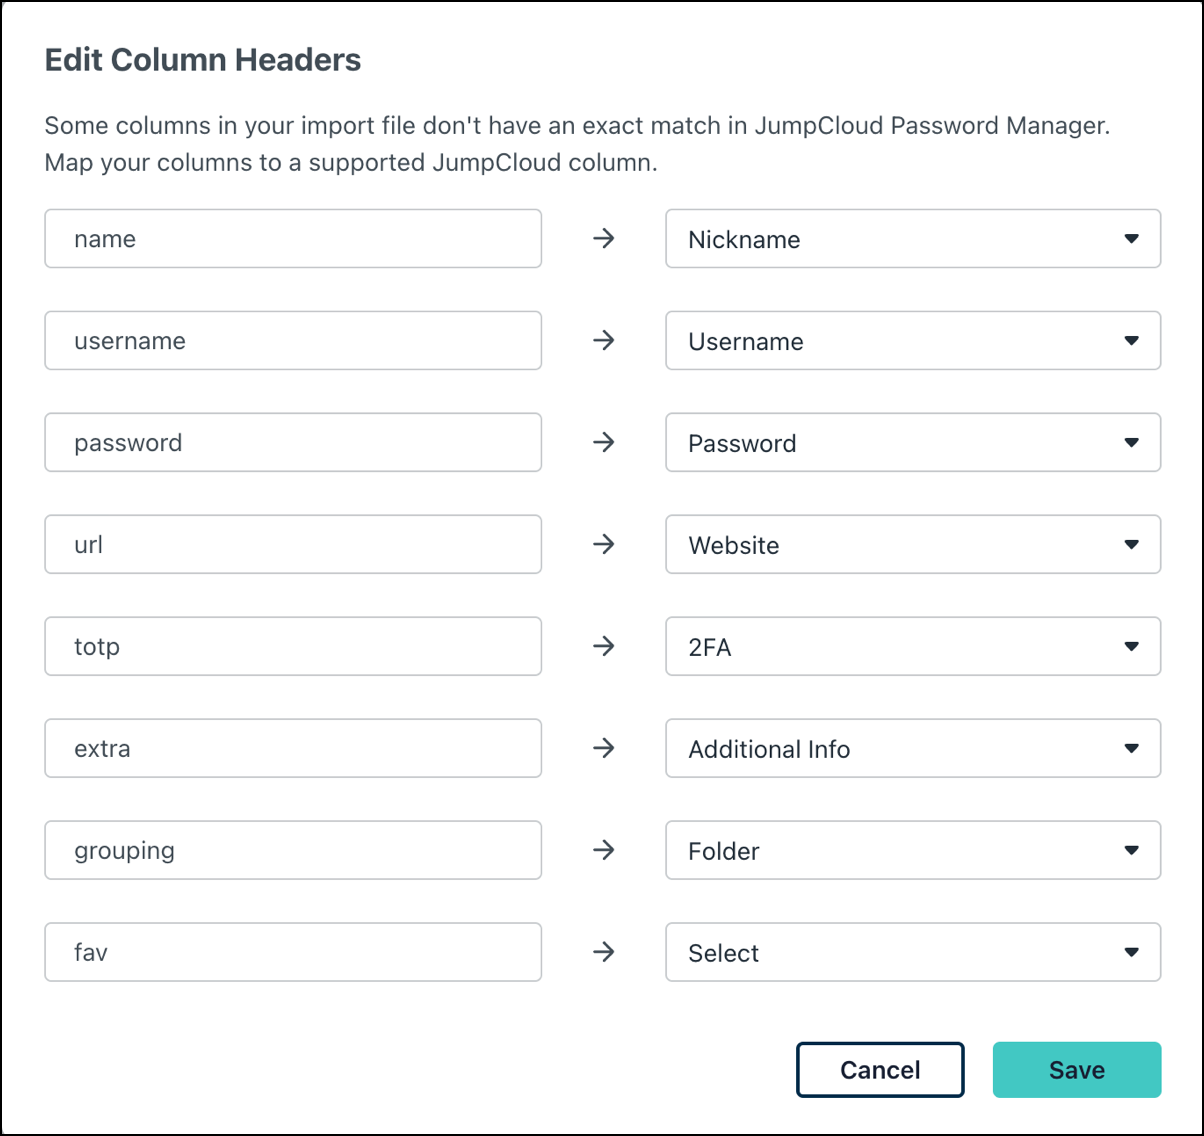
- On this step, you can review your items and the column mapping. You can use the three dots to change the column mapping, or if you receive the Extra Columns Need Attention alert, select that button to edit the flagged column headers. Once done, click Review Complete to move to the next step.
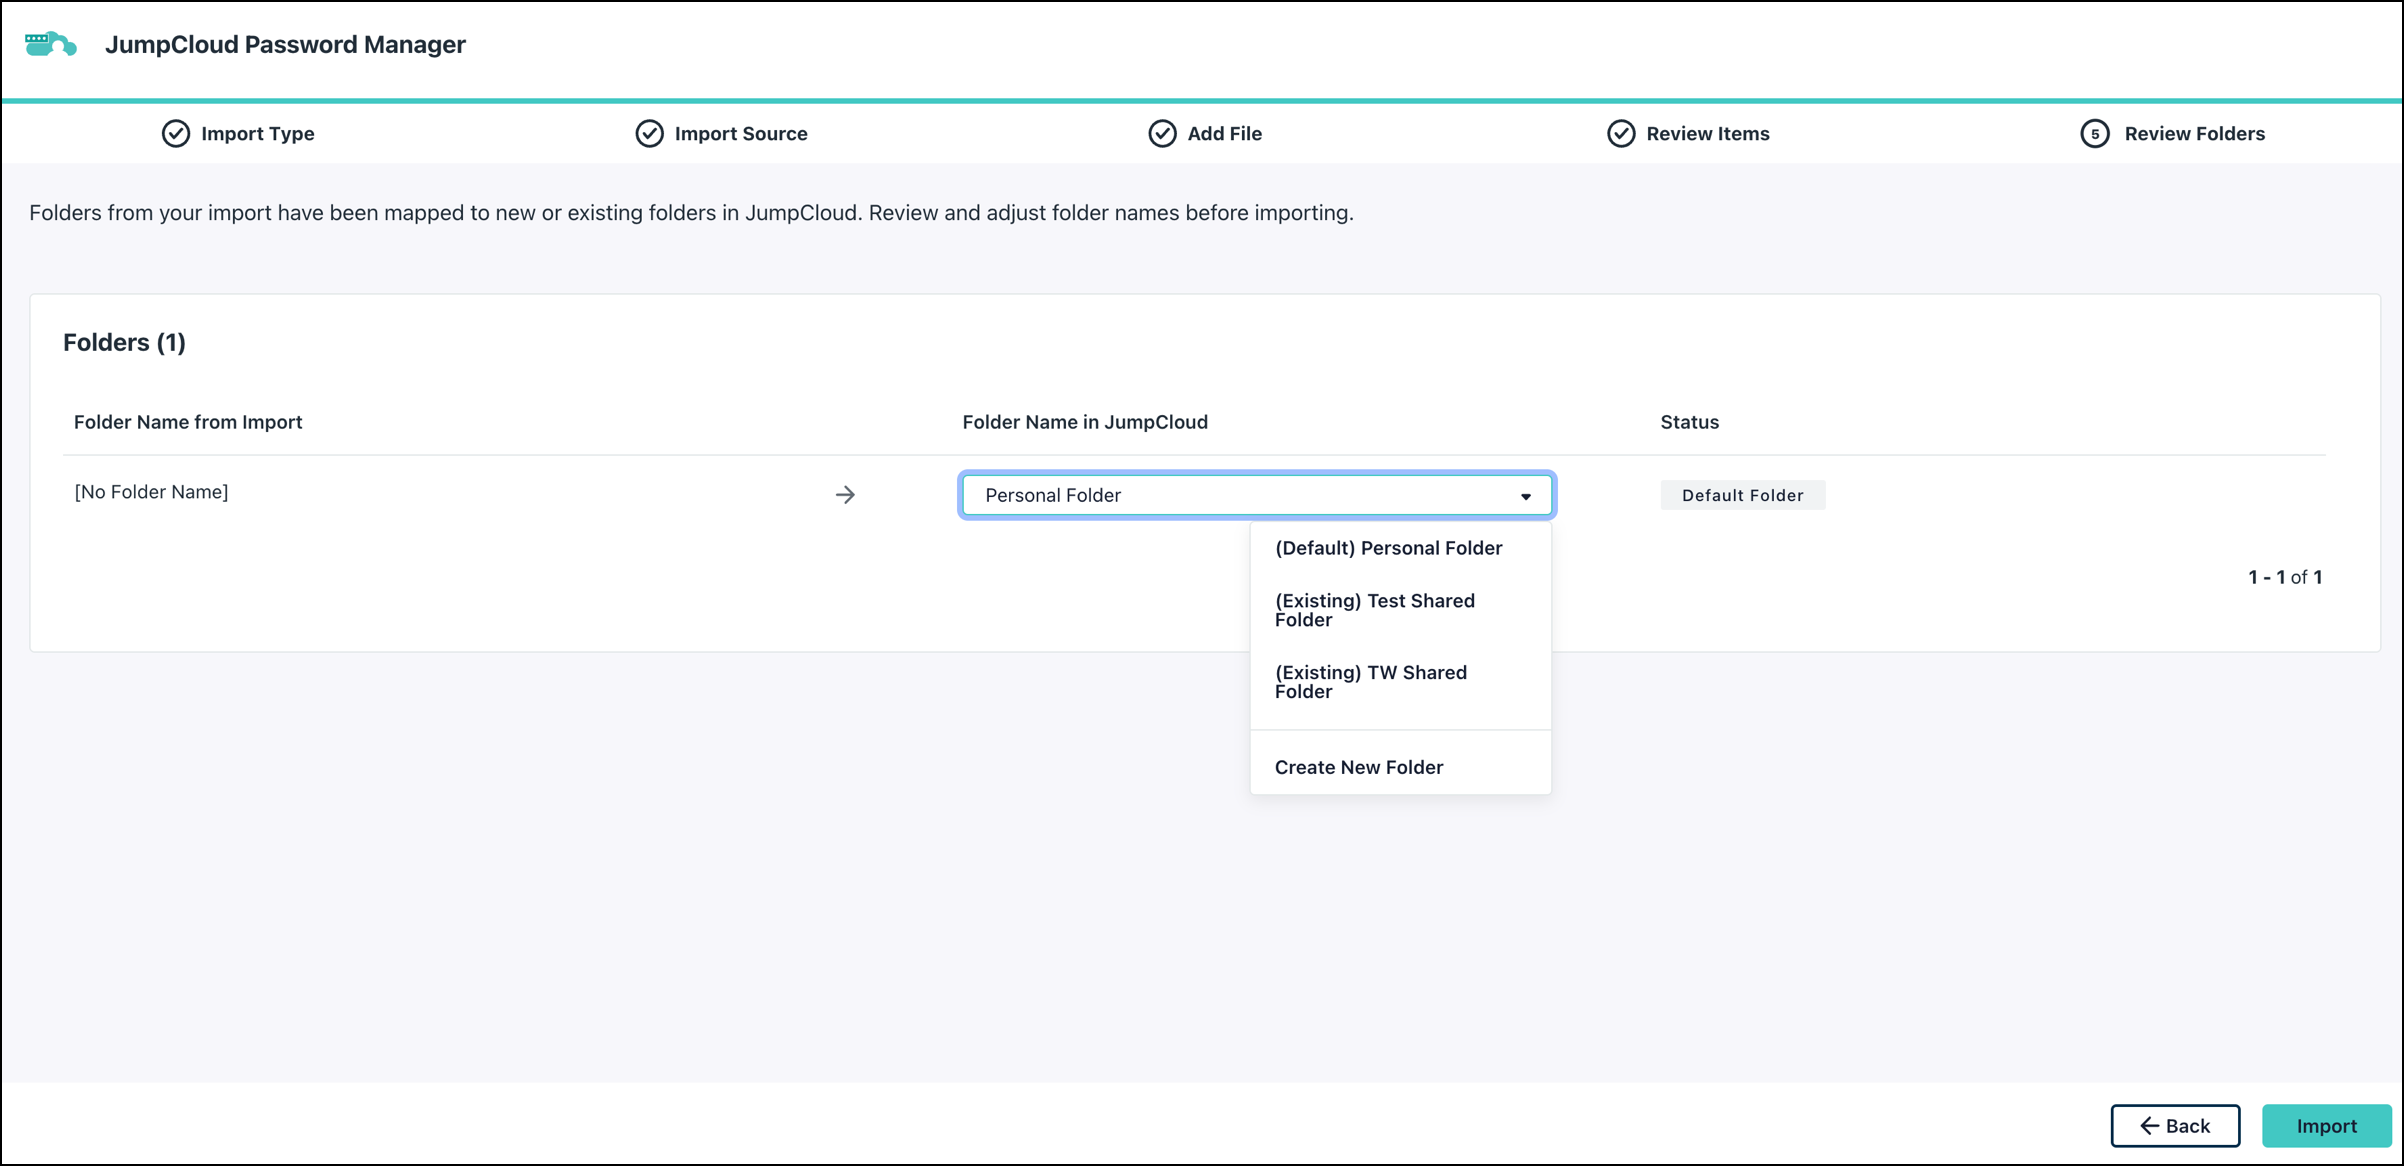
- Review and update your Folder name(s) if needed.
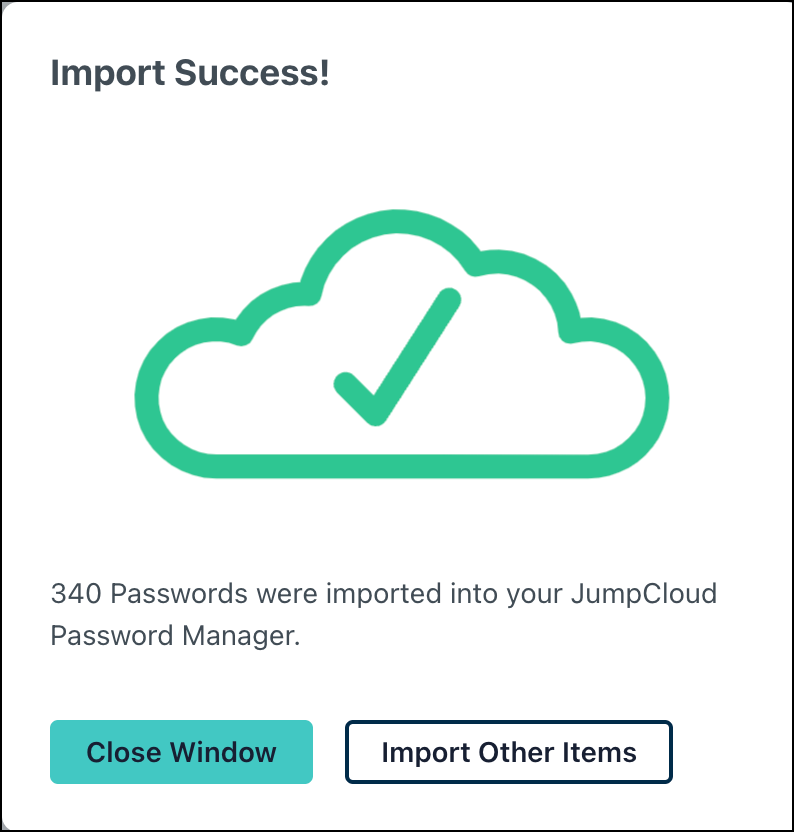
- Click Import to bring all of this data into the JumpCloud Password Manager. Now, you can see all of the imported items in your JumpCloud Password Manager vault.
Back to Top
